What’s the worst thing you can tell a perfectionist? “The best part of this technique is that there’s no way to mess it up! It’s all personal taste, so there is no right or wrong.”
To the kind sir who wrote those instructions, I’d like to both respectfully and vehemently yell, “INCORRECT!” Alas, those were the directions that I read when looking up more on the German Schmear technique I decided to use on the thin brick fireplace, so I forged forward with a “caution to the wind” sort of an attitude, which is very out of character for me.
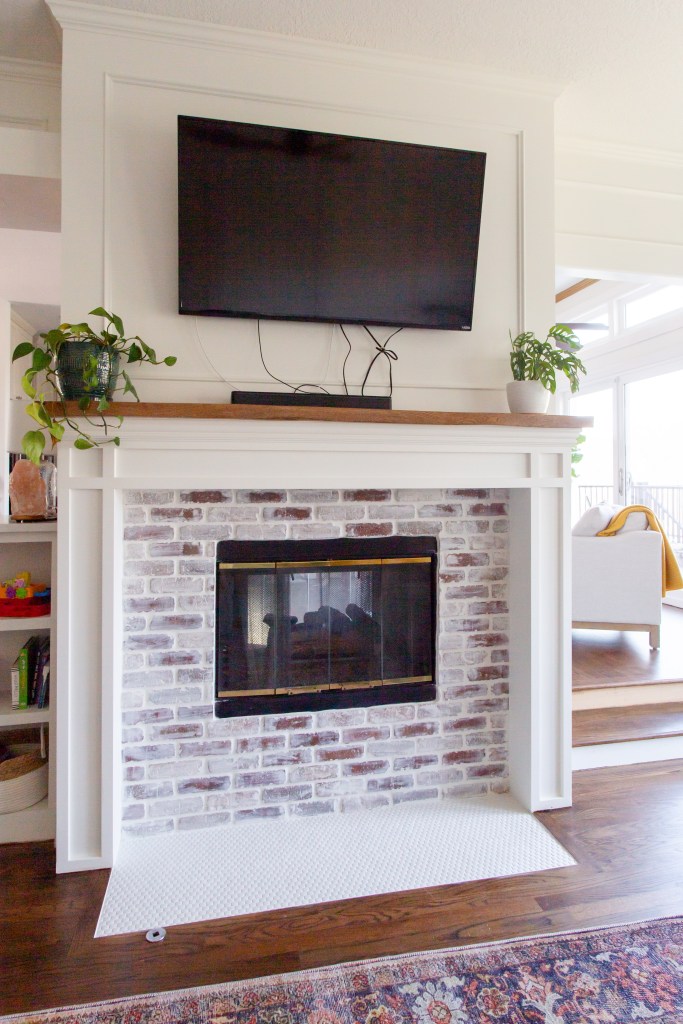
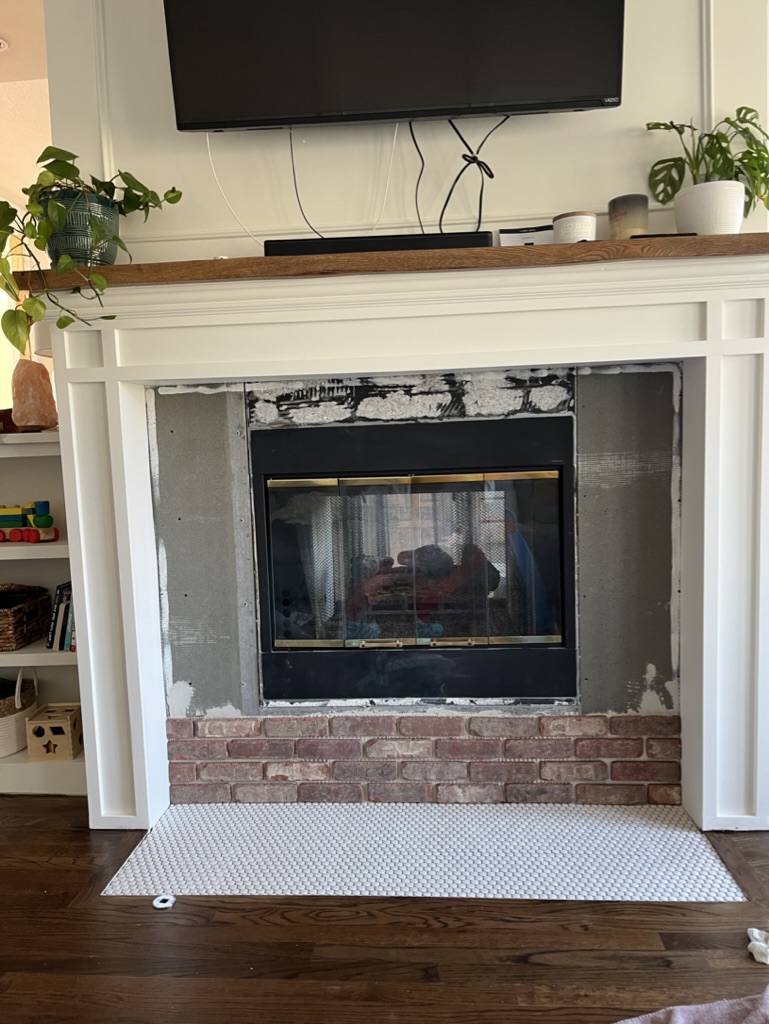
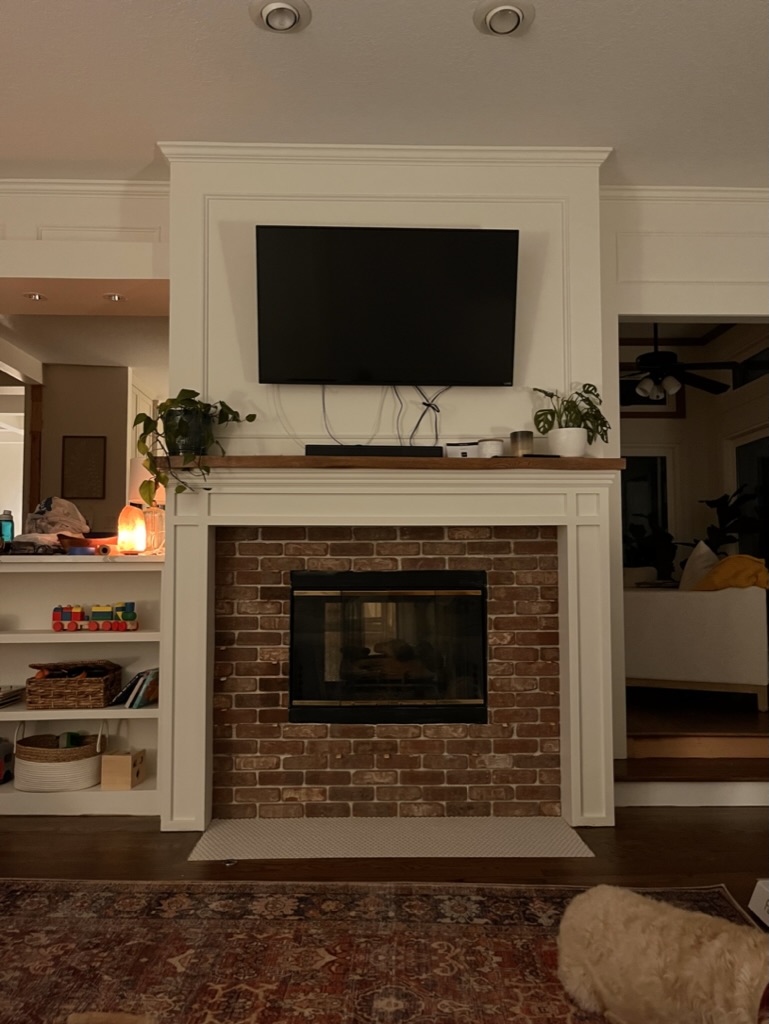
I recently rebuilt the mantle on one side of our double sided fireplace, one side of which sits in our kitchen area, and the other of which is in our sunken living room (more on rebuilding the mantle here). After the mantel itself was finished, I agonized over what direction to take the tile. I ultimately decided that since the rest of our house embraces a classic, updated traditional look, the fireplace should do the same. Brick seemed like the perfect choice to warm up a mostly white room, and the German Schmear technique seemed like the perfect way to finish it.
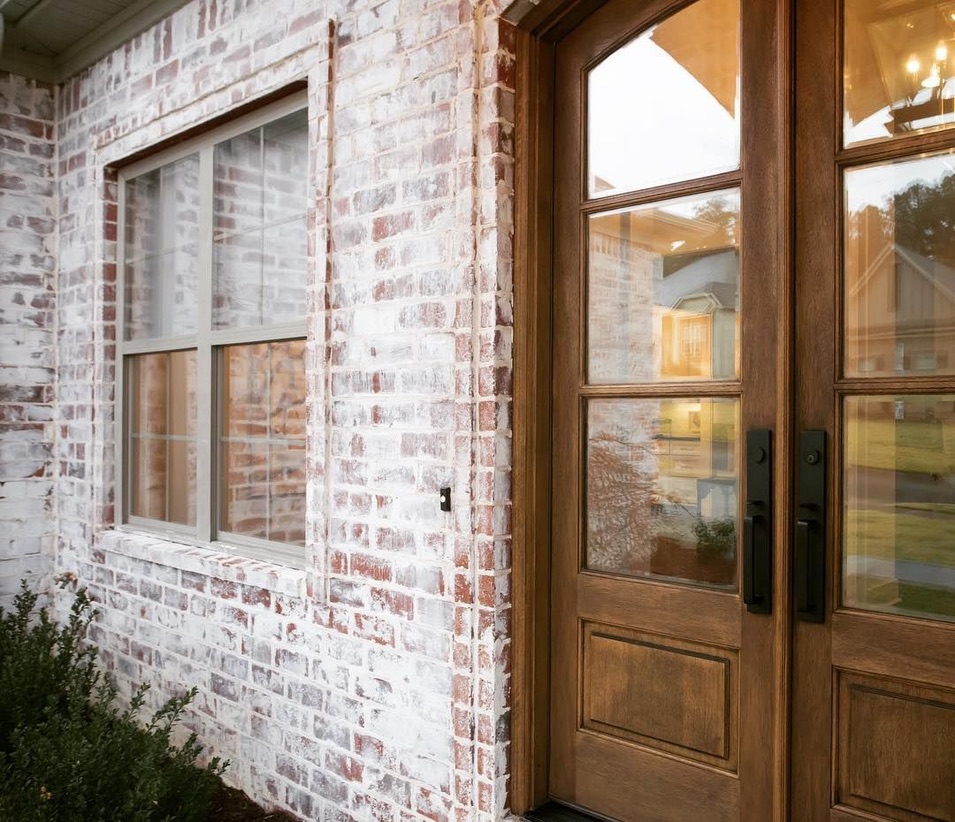
Examples of German Schmear:

To prep the area, we hung 1/2″ cement back board on the vertical aspect and installed 1/4″ board on the floor (our home has a basement, so the backer board on the floor was necessary since it’s a plywood subfloor). We went ahead and installed the floor tile first – we opted for a simple white penny tile that would add texture, but not detract from the brick. Originally I had wanted to use something larger format on the floor, but because of the dimensions of the opening we would have been left with strange cuts that would defeat the purpose of buying large format tiles. We knew the brick could hide the rounded edges of the penny tile in the back, thus saving us work, so it made sense to us to install in that order.

Then it was finally time to install the brick! We used Old Mill Thin Brick in Castle Gate and a fortified mortar, as indicated by the install guide. First, I found the center of the fireplace opening and the center of a sheet, that way I wouldn’t be left with any strange slivers or with a lopsided looking fireplace. The bricks were super easy to cut with a wet saw, although I’ve heard you can also use an angle grinder (be mindful of the dust) or simply score and snap the bricks. Using a 1/4″ trowel, I spread the mortar over the cement backer board and then simply pressed the sheets onto that.

A few days later the stars aligned to allow us to grout. You can use either mortar or sanded grout here; I chose sanded grout (Polyblend Plus #11 in Snow White) so I could use the same product on the floor and because I wanted more flexibility with my color choice. Grayson mixed up the grout and we took turns piping it into the spaces between bricks. The piping bag definitely takes some muscle! We ended up adding a bit more water to our grout, which helped, but we didn’t want to ruin the integrity of it by adding too much.
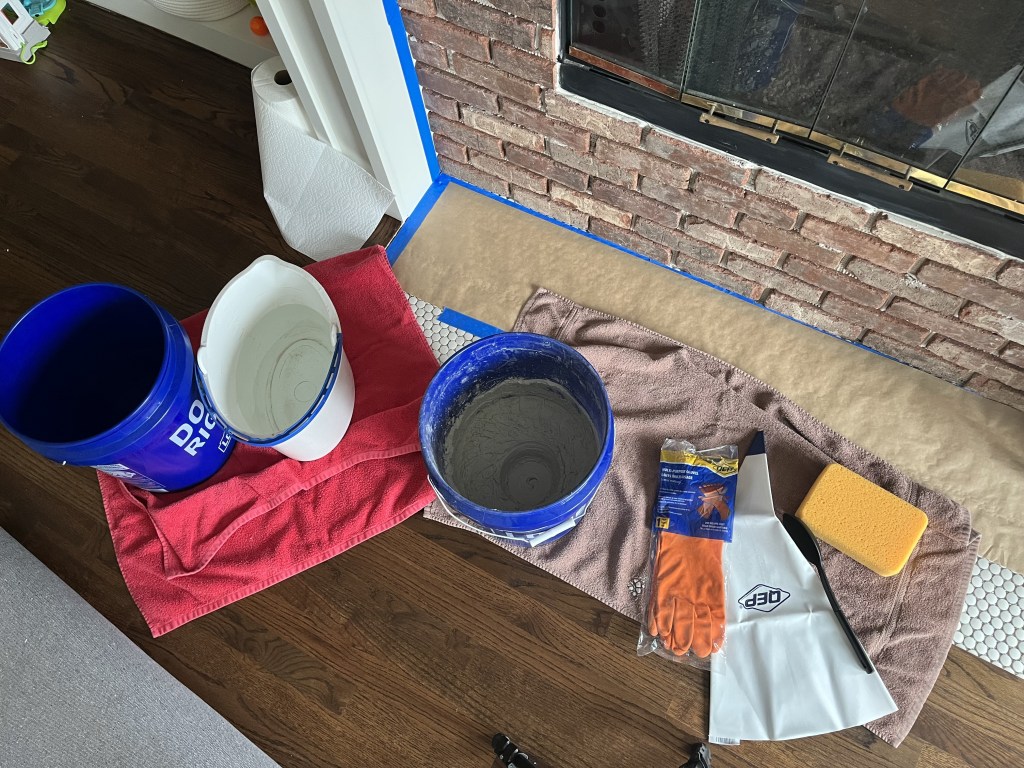
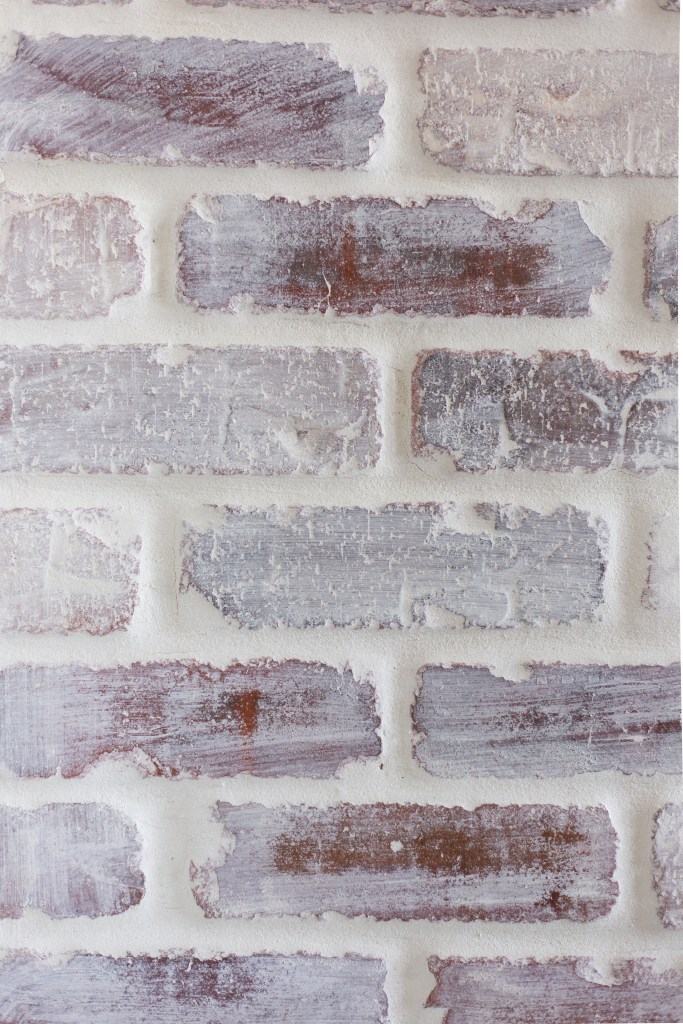
I let the grout sit for just a few minutes, then used a damp grouting sponge to smear the grout all over the brick and smooth the lines between bricks. After about 10 minutes, I came back and wiped off most of the visible residue. Here’s where I learned the hard way that the finished product will look way more saturated with grout than what you see while it’s wet. Looking back, it makes sense – brick is a porous material, so it absorbed a lot more of the grout than I realized. If you’re not looking for such an overdone look, you could use a grout release before grouting, dampen the bricks with a sponge before smearing, or just try to wipe more off after it has been smeared.
As the grout dried, I started to panic because it was SO WHITE. Grayson definitely thought I was crazy, because I kept going back to wipe more off every 30 minutes, but to no avail. The grout had already set. I went to bed and decided to look at it in the morning with fresh eyes.

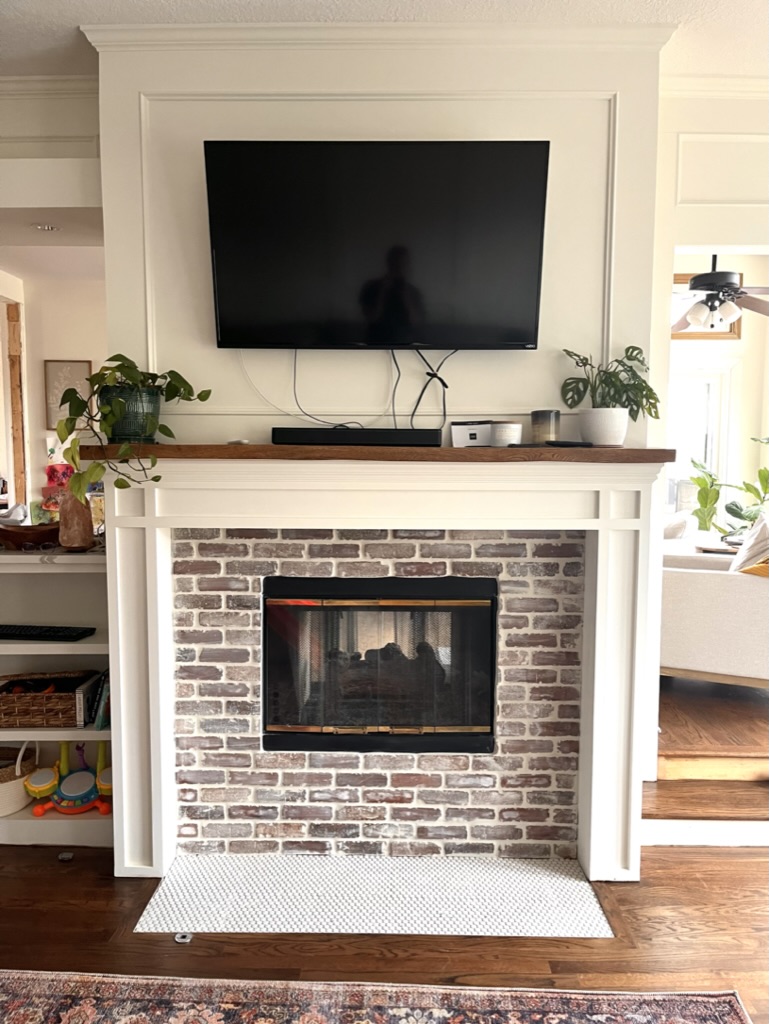
When I woke up the next morning, I still felt the same way, so Florence and I headed to the store to get some heavy duty cleaner that can remove grout. I started out conservatively, diluting the cleaner and using a rag and soft bristled brush to clean the bricks. Two rounds later and with the brick still looking pretty much the same, I broke out the heavy duty scrub brush and went to town with undiluted cleaner. When it dried that evening, I thought I’d give it one more go, and below is the final result.
It’s better, but still not quite what I wanted. However, I know decor and time will help me to adjust, and it is still FAR better than what was there originally. So, here’s to releasing my perfectionist self just a little bit and showing my learning curve… and to a beautiful new fireplace.
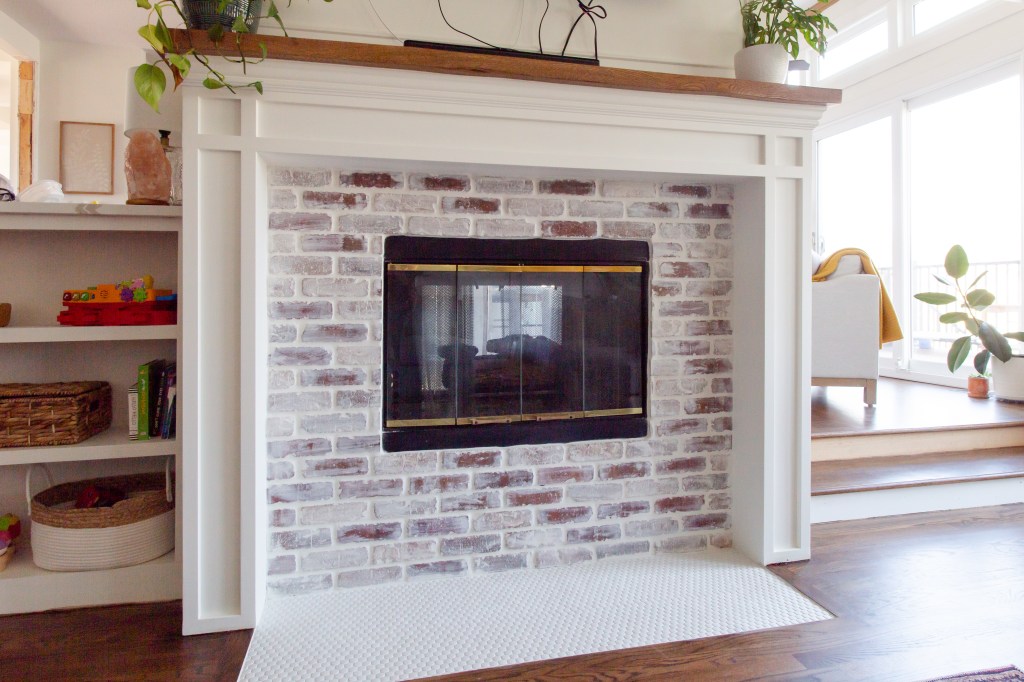
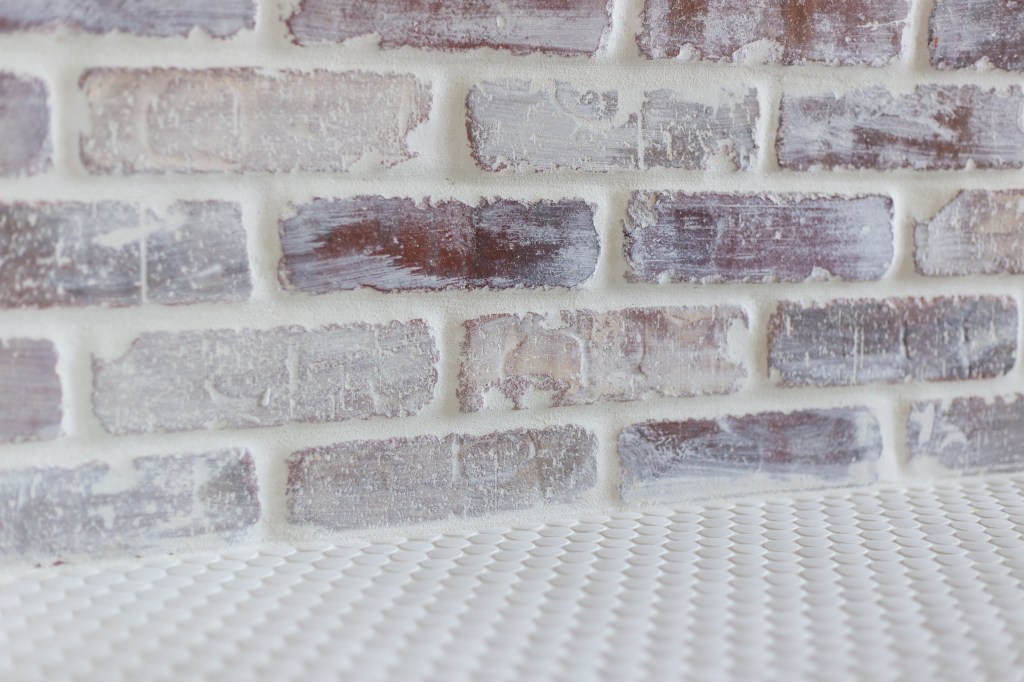
Up close details of the brick and penny tile:


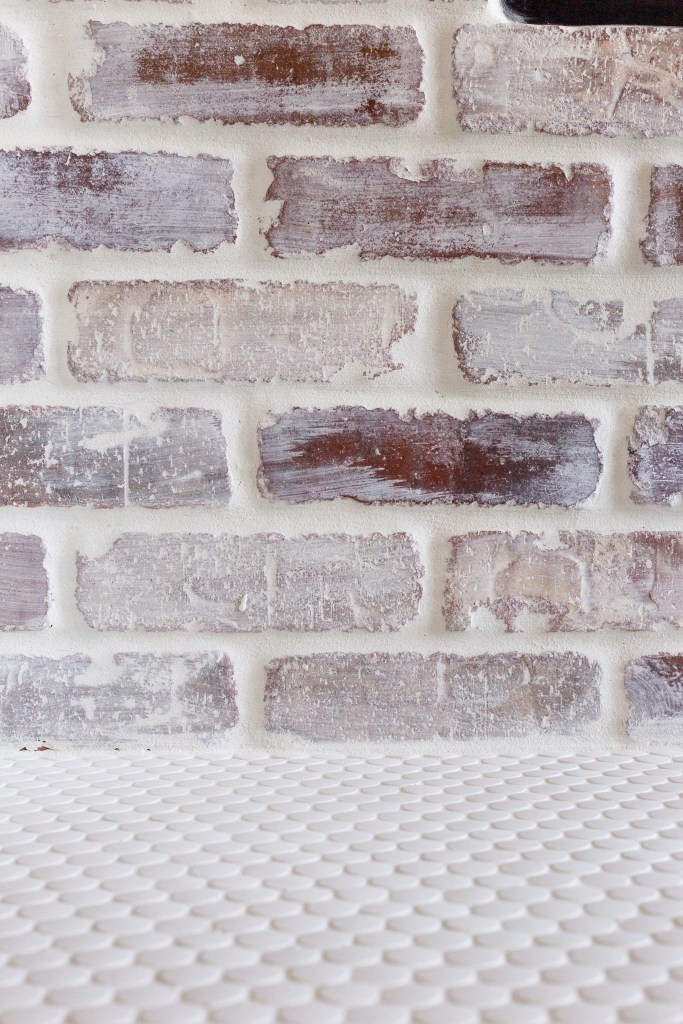
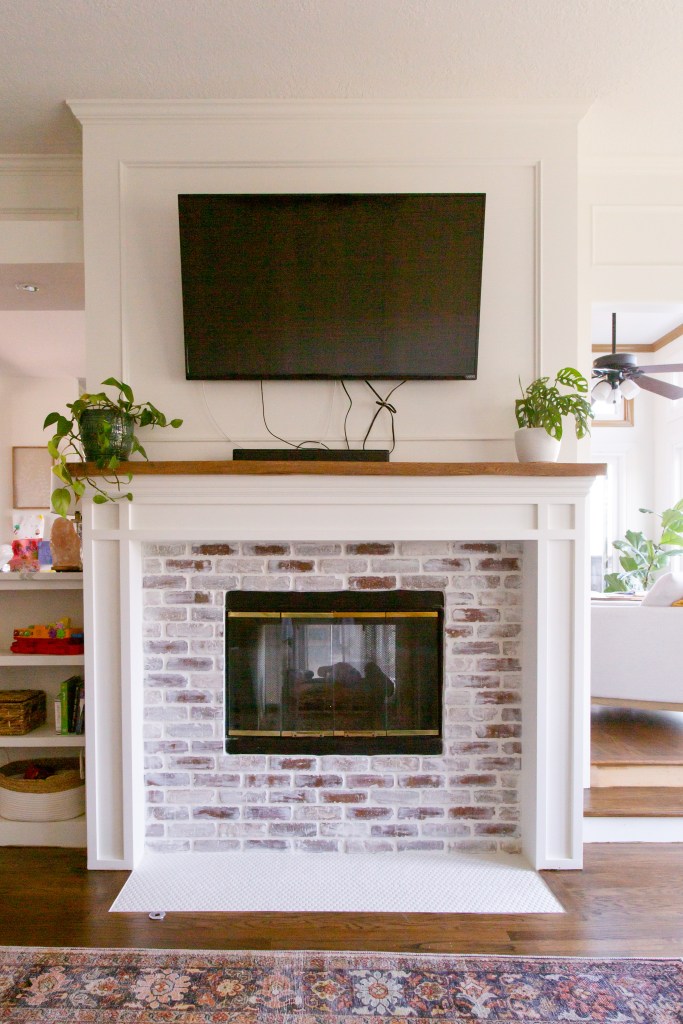
The finished product: