Work on our current flip, also known as the Salmon House, has slowed to a crawl as of late, in part due to COVID and in part because we’ve been saving up to buy our next big project (more to come on that later, but just picture me jumping up and down in my chair in something that resembles a child doing an excited dance as I type this). In the meantime, I thought it would be fun to walk through a few of the parts of the process that led to our latest finished flip, which we’ve lived in since December 2019.
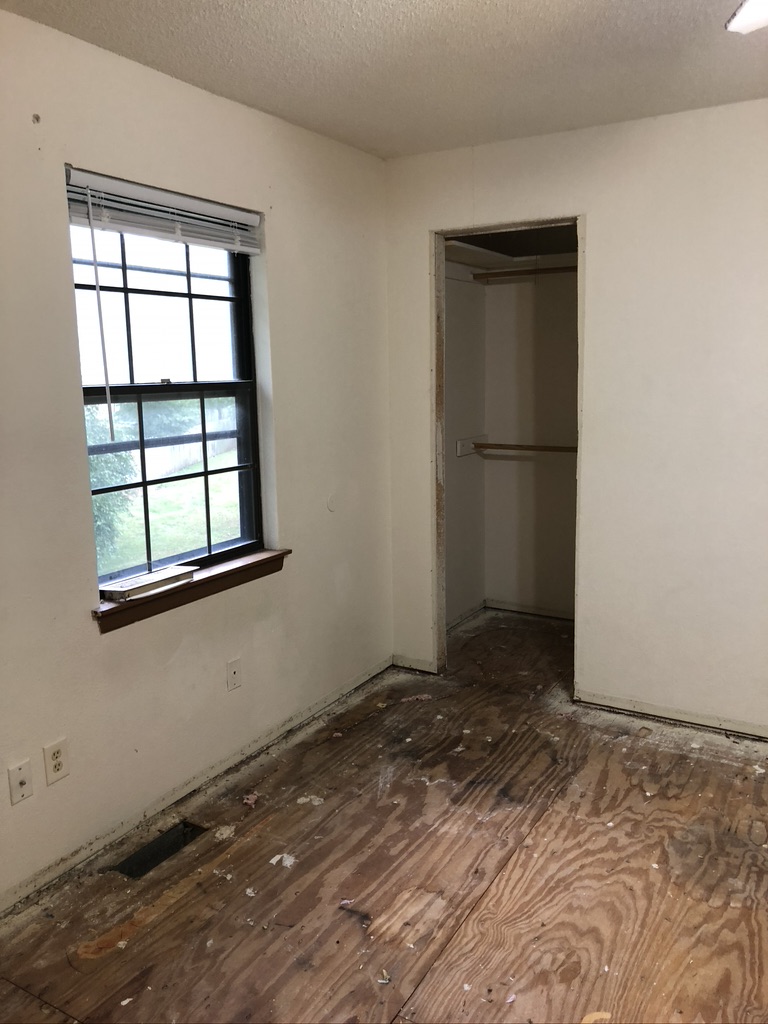
When we get into a unit that’s been tenant occupied, our first step is to document everything. We go through a move-out condition form with the tenant and mark down everything we see, noting which line items are due to actual damage from the tenant and which are due to, simply put, years of neglect on a property that’s been proverbially swept under the rug. We take “before” pictures to document the condition of the property (in case we or a former tenant later has questions about security deposit reductions or the state of the home) and also so we have a comparison to see how far we’ve come when we get to the end of the project.


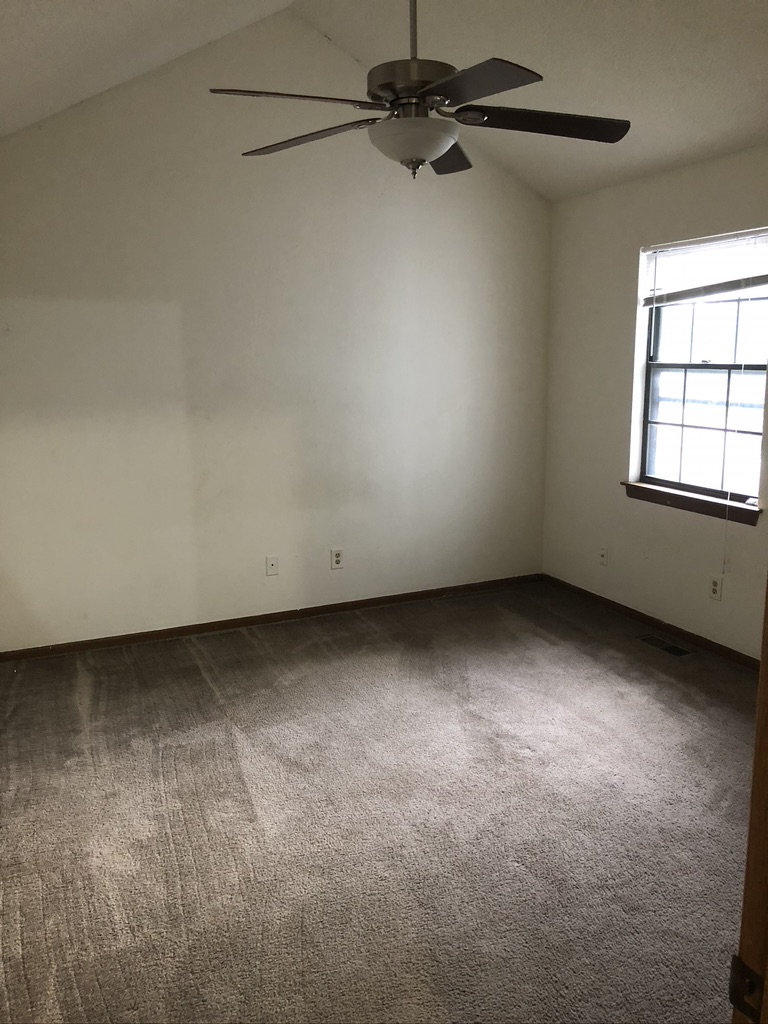
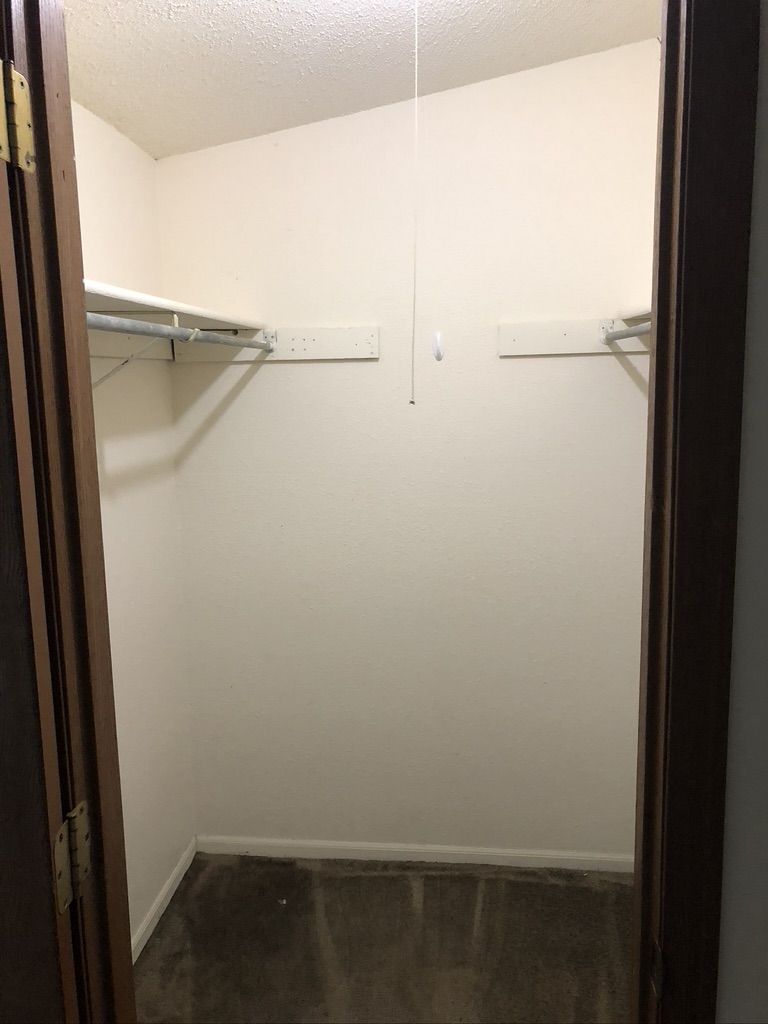
Luckily, this unit was in pretty good condition, relatively speaking; although, I guess it’s important to remember that when I say “relatively speaking”, I’m comparing it to units that had mold under every piece of flooring and behind most walls, not to mention the ferret diarrhea streaked down the walls and the urine stains on every surface… or units that were so damaged by nicotine residue that we almost had to tear out every piece of sheetrock, with the exception of where the tenants had so kindly already done that for us by kicking in the walls… or units where there were more nail holes than actual wall left behind and the doors were more holes than actual door (including the hole where a door handle would go if it weren’t missing). Fortunately this unit was just dirty and very, very dated, with only a small roof leak causing a bit of mold in the master closet, so we didn’t have to withhold damages from the tenant’s security deposit and we weren’t constantly affronted with the worst smells you could imagine.
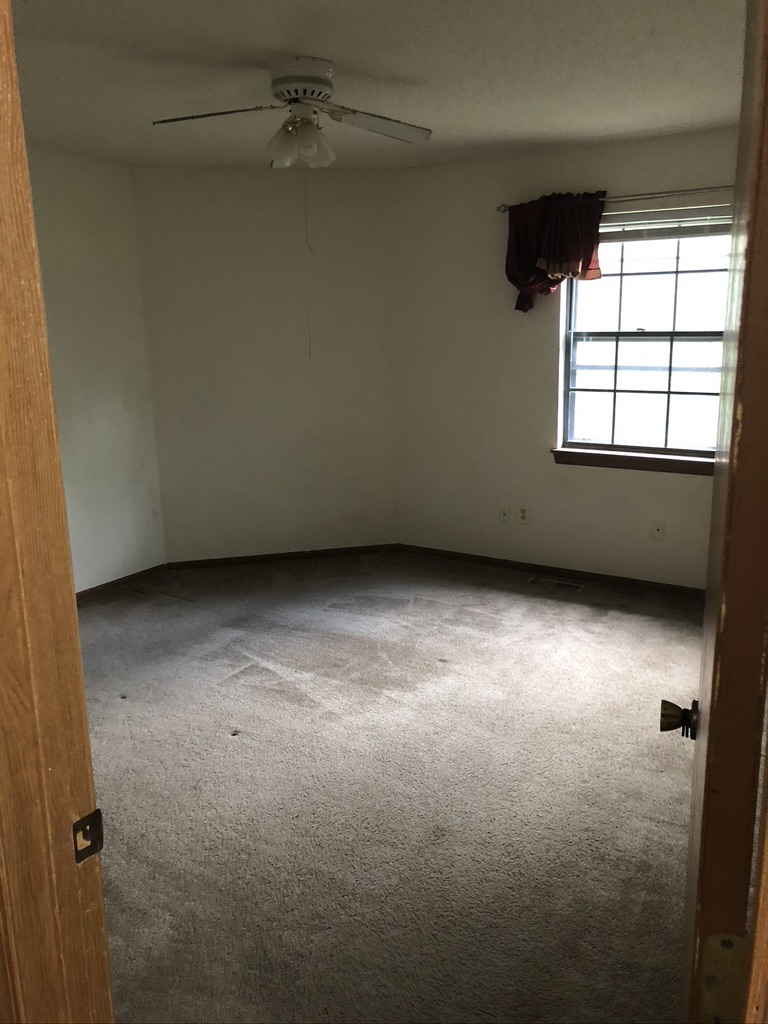
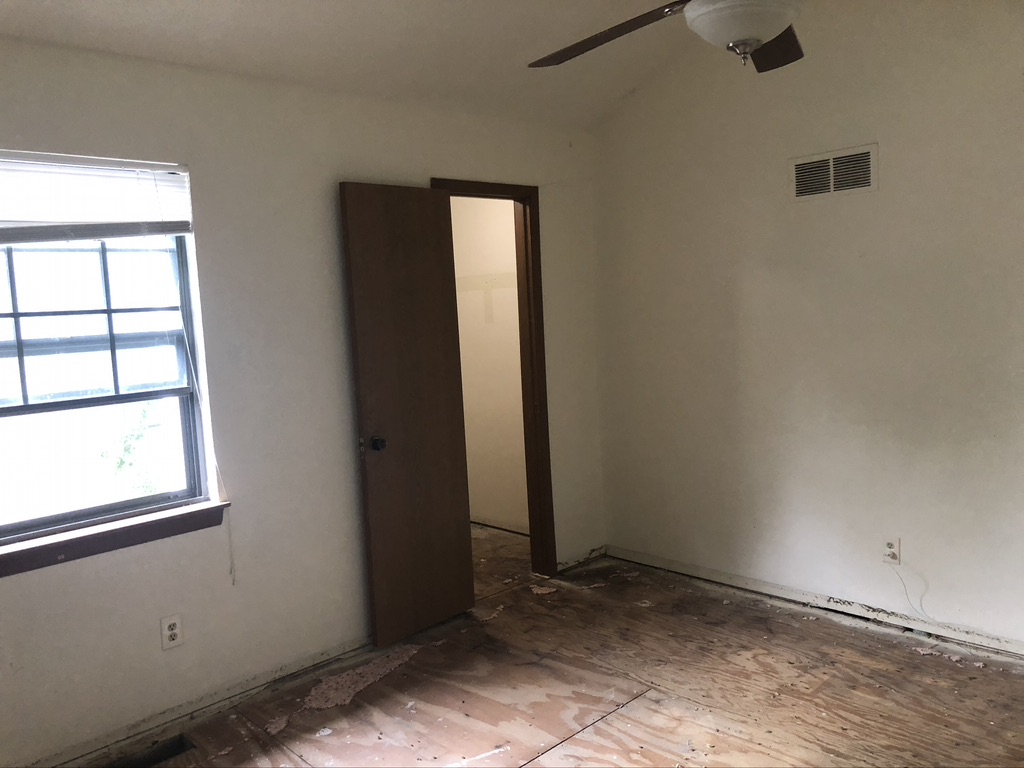
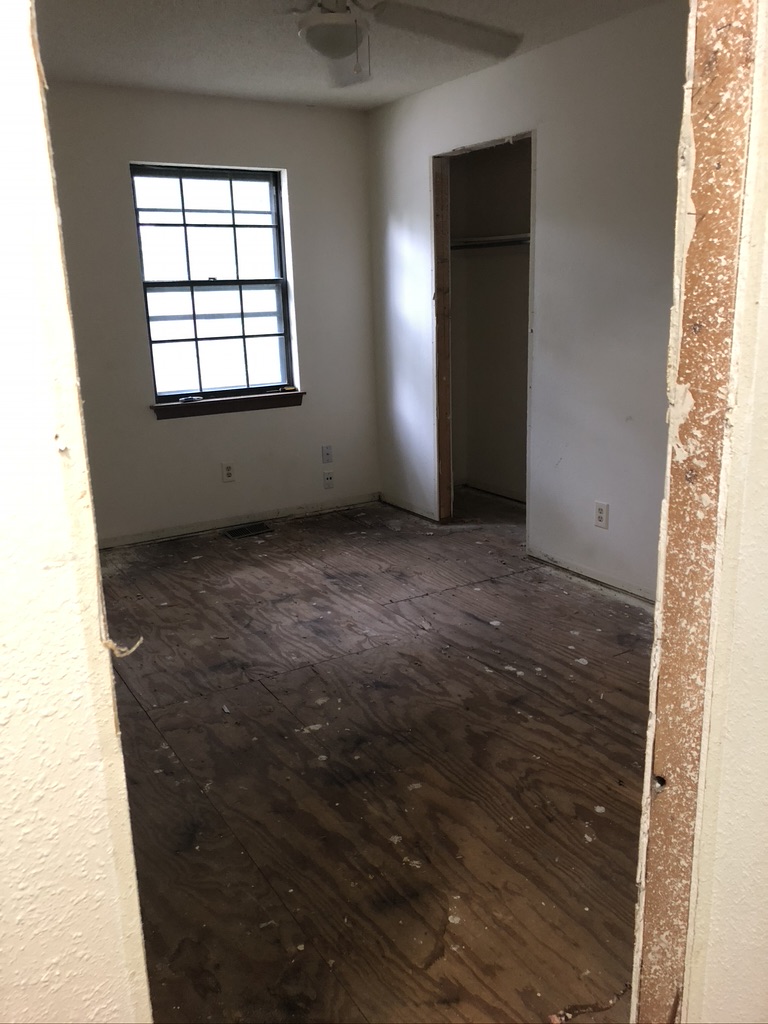
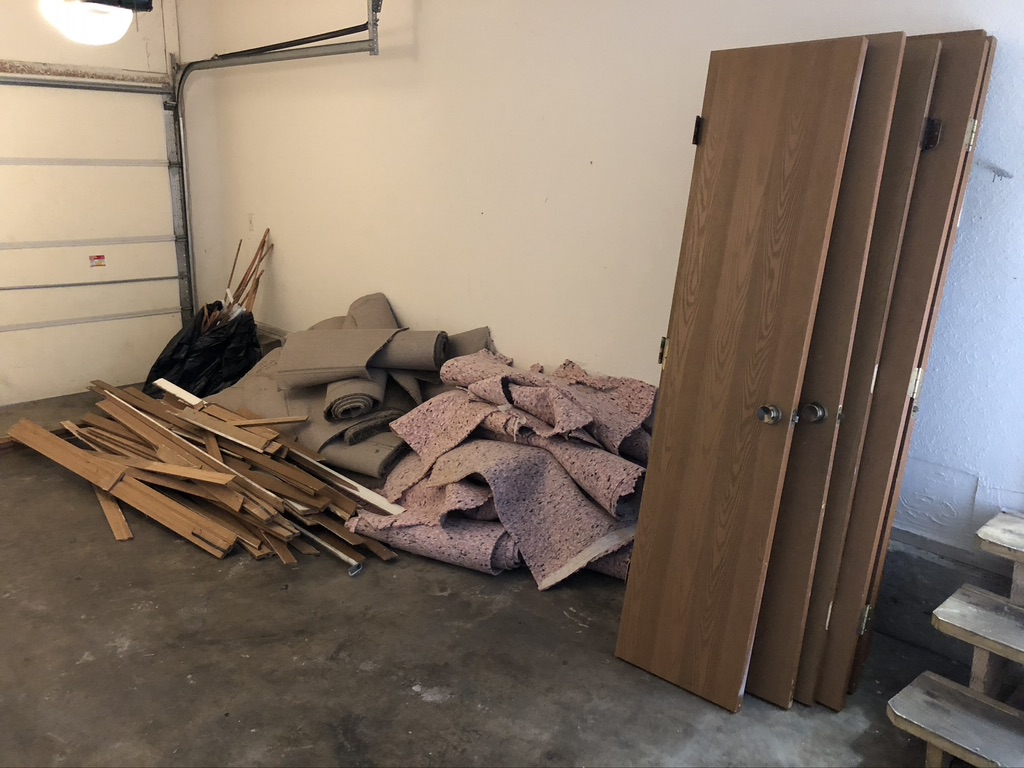
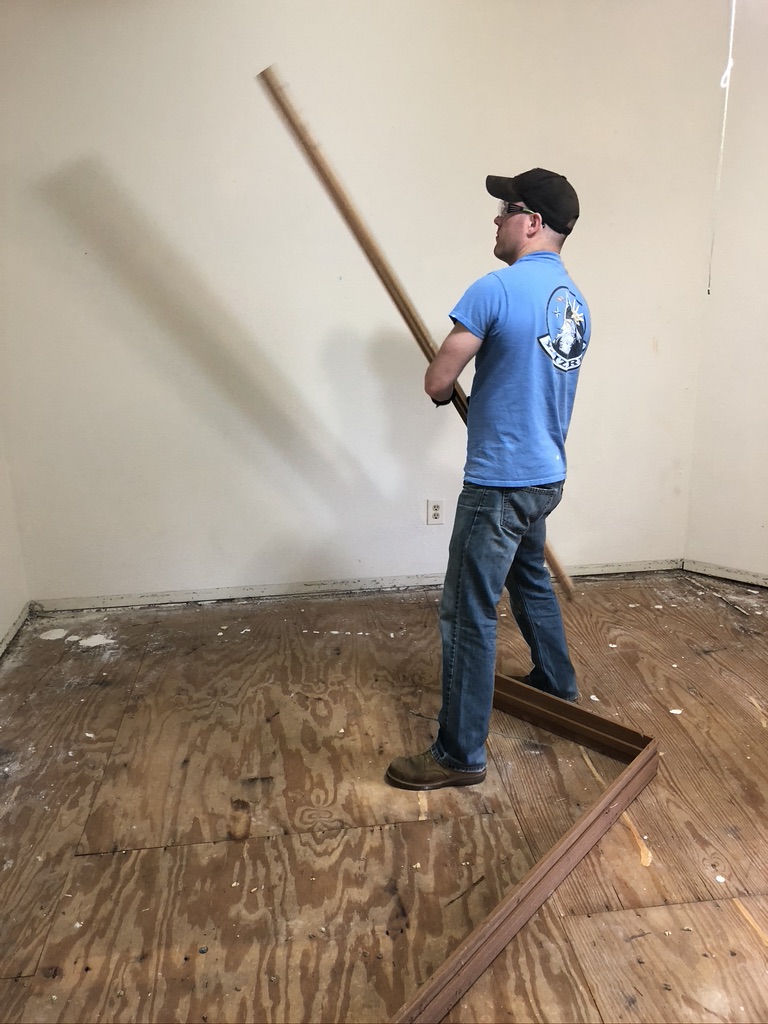
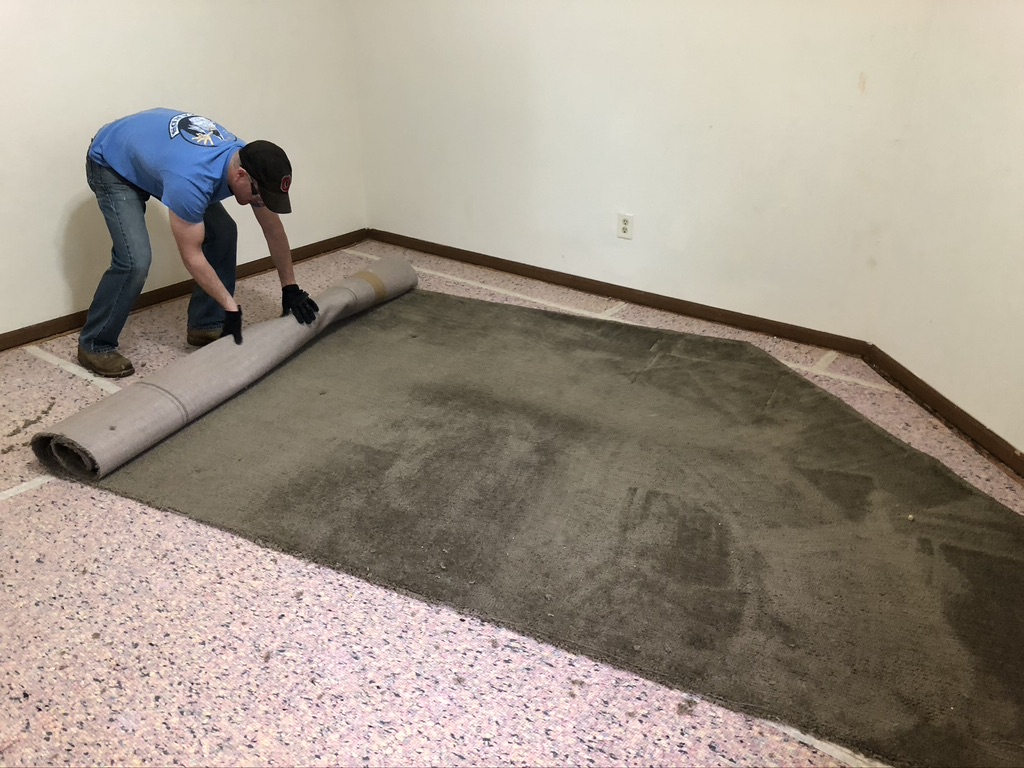
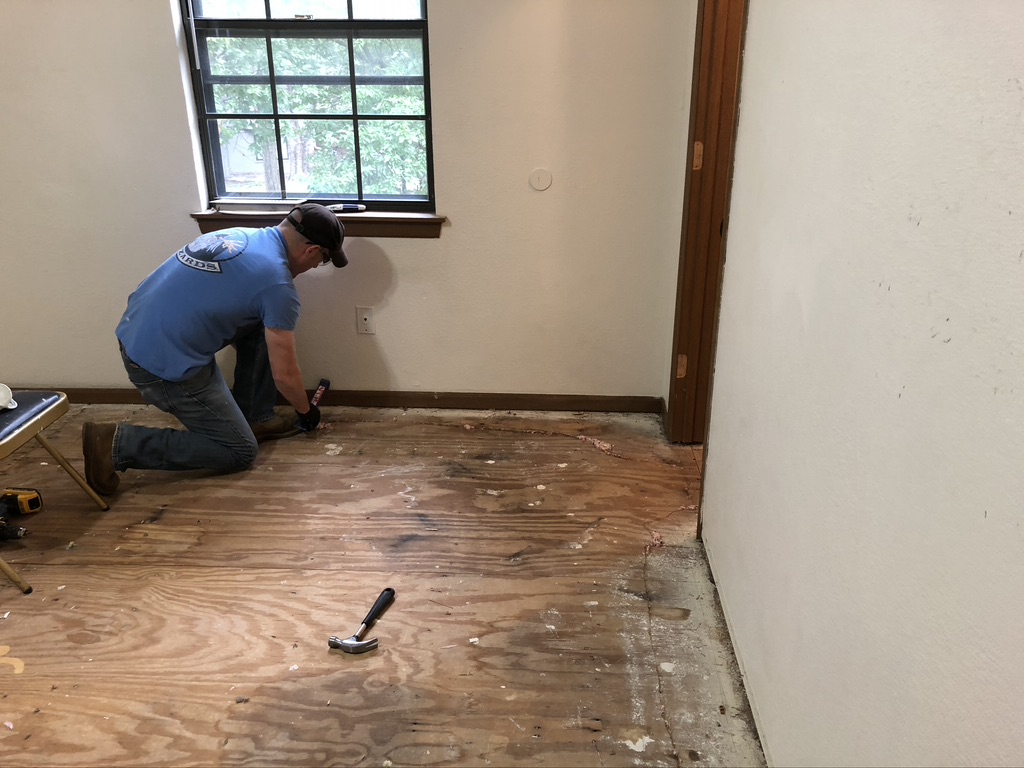
After that, it’s DEMO DAY! Which is the best day, but also the worst, because it means you’re finally past the paperwork phase and into the phase where you actually get to swing a hammer and do things. For this demo, Grayson conveniently had a work trip come up at the last minute, so while he was out jet-setting the world (quite literally, because he was flying the jet), I spent a few days tearing up carpet and ripping out doors.


All in a day’s work – it was exhausting but I also feel so accomplished that I can do this alone if I need to. Girl power!
Luckily our amazing friend Mitch wanted to help, and we muscled out the remaining carpet, vanities, and the entire kitchen. But don’t worry, we left the toilets for Grayson. 😉

We’ll have to get into the bathrooms and kitchen on the next few posts, but I’m pretty sure those are Mitch’s favorite, especially because in these units the counters come up pretty easily so you can feel like the Hulk ripping them out with your bare hands.
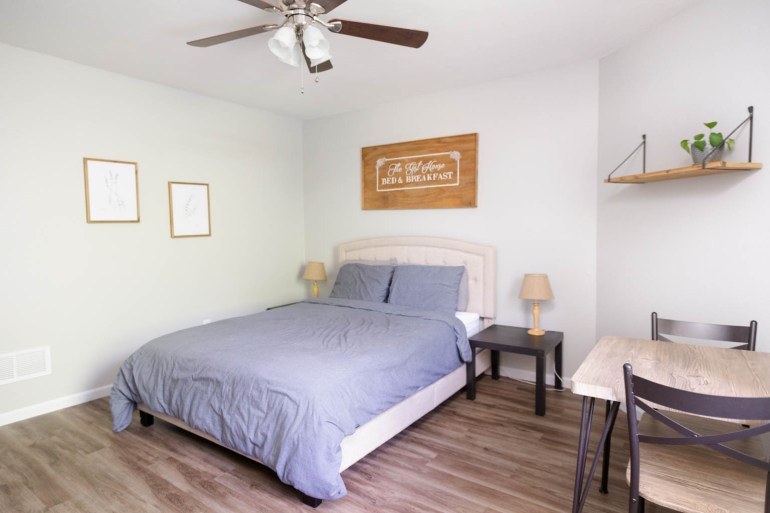
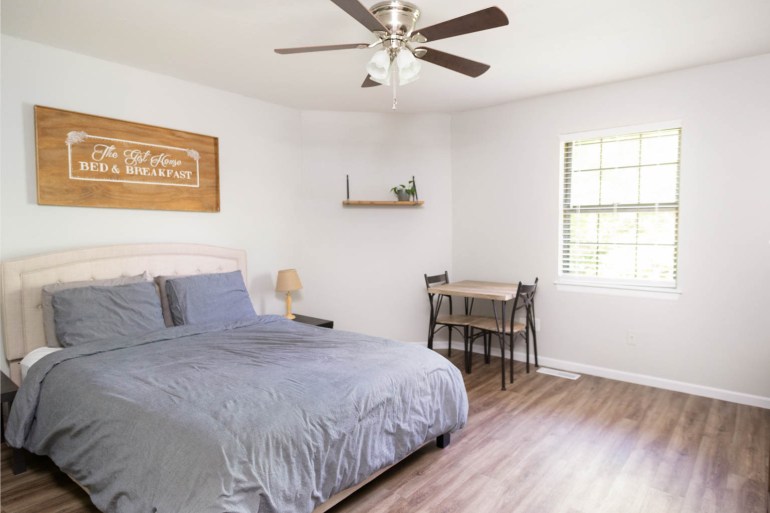
When Grayson finally got home, we removed the light fixtures and got to scraping the ceiling and hanging new lights/fans. Just removing the popcorn made the space look so much brighter and newer. We also always put fans in every bedroom; it seems silly that only the main bedroom should have a fan, other members of the household get hot too!
P.S.: Always, always, always test your ceilings for asbestos before starting. Our buildings were built just after the use of asbestos was outlawed, but we still test them anyway in case someone still snuck it in!
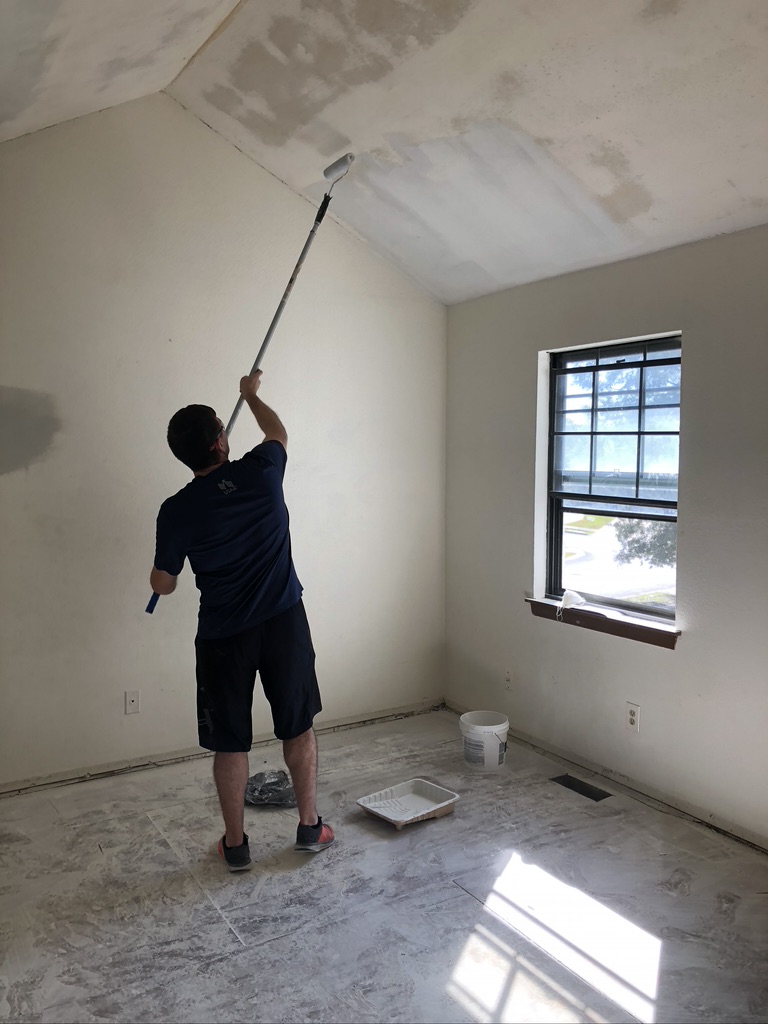


After that, it came time to paint the walls. This and the ceilings are probably my least favorite parts of the renovation process, but also create some of the most drastic change. I always try to brighten it up by leaving Grayson a painted message. This time it was short and sweet.
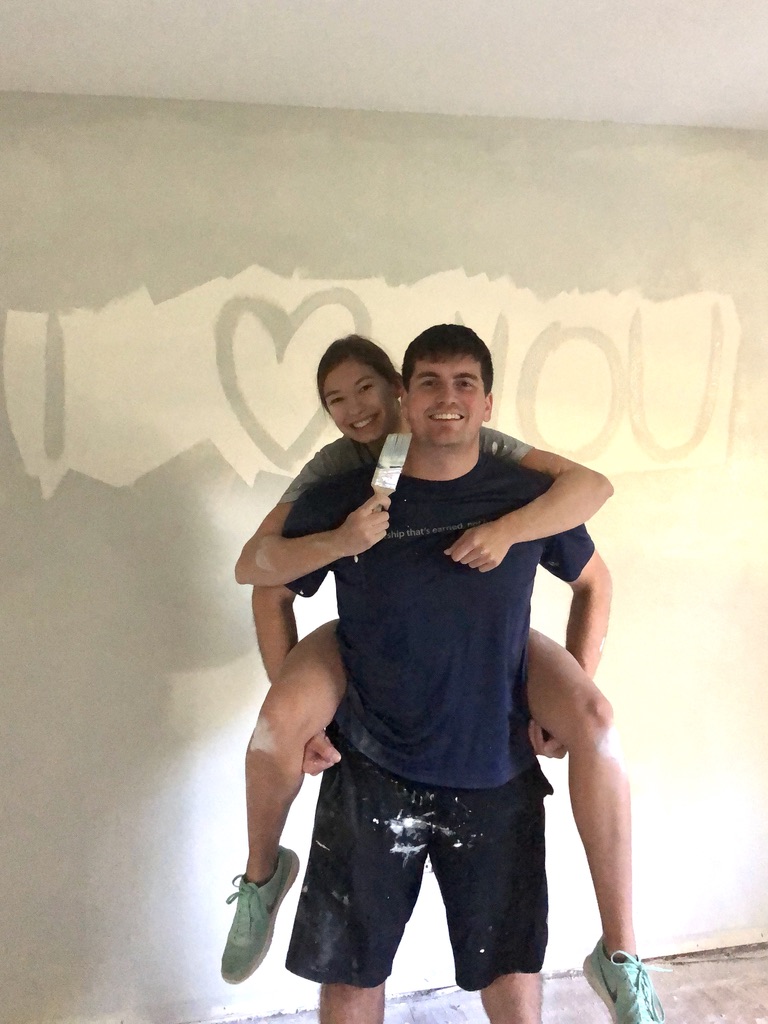
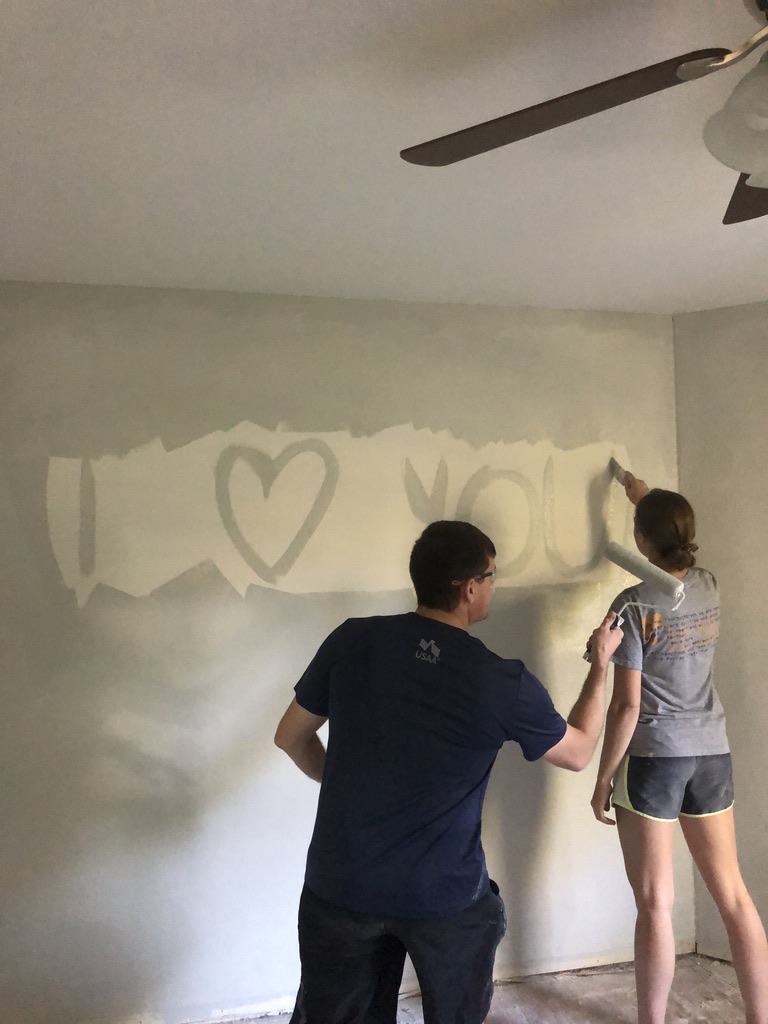

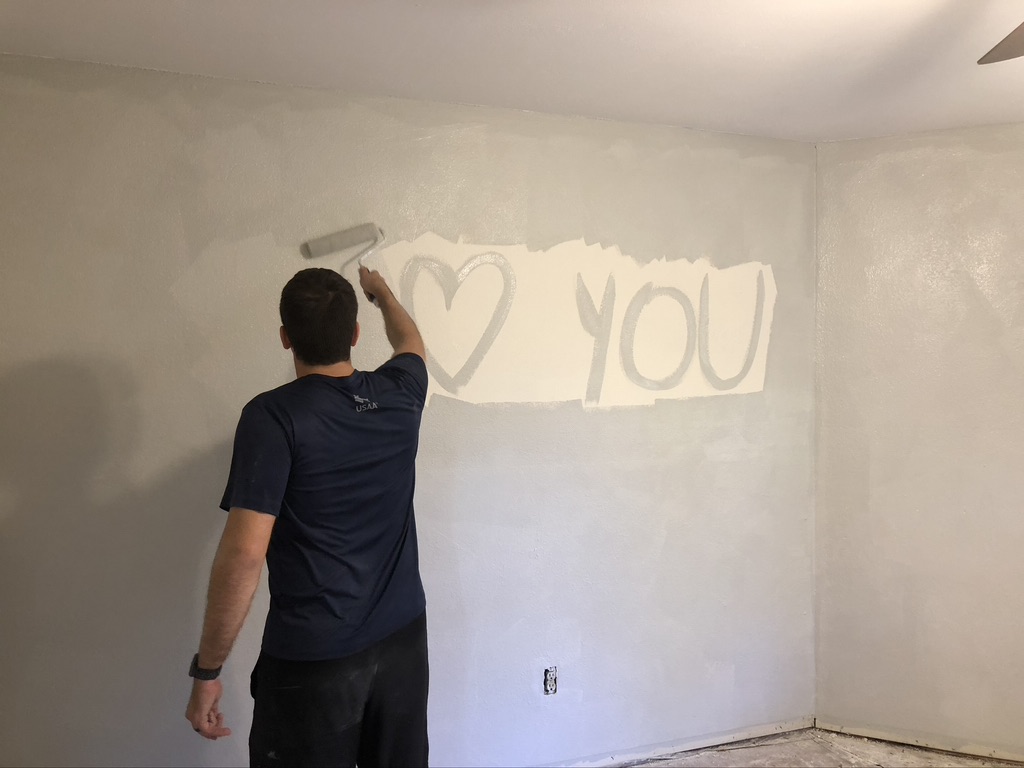
Typical Grayson… I try to be sweet and he’s making jokes and pulling pranks.
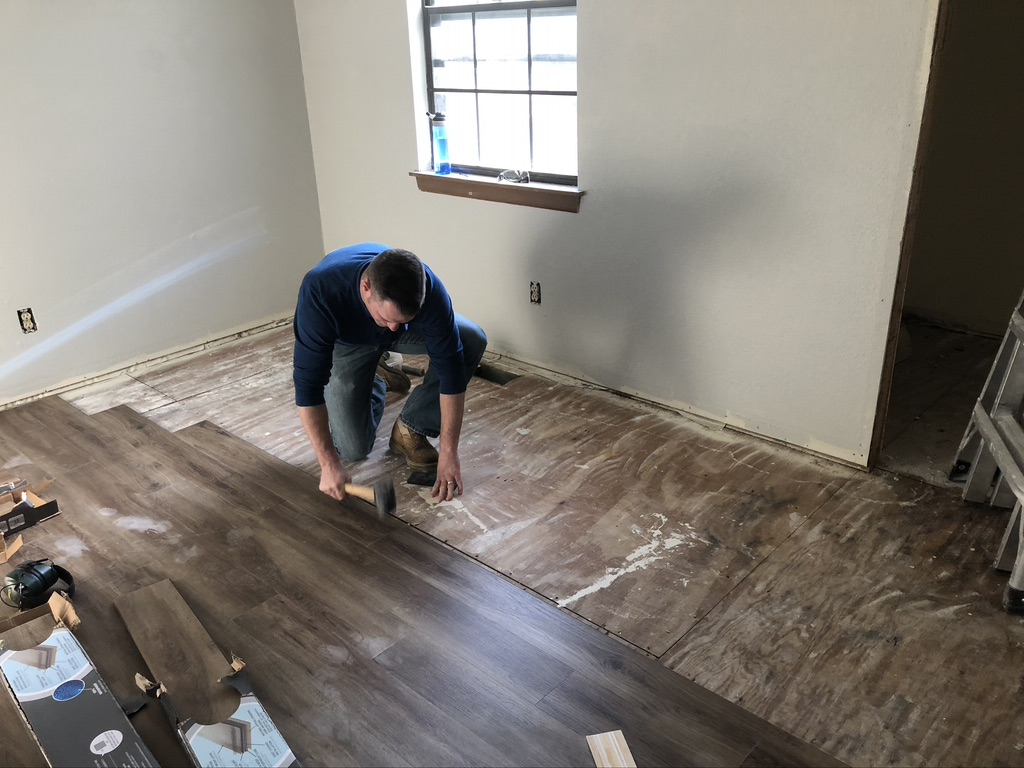
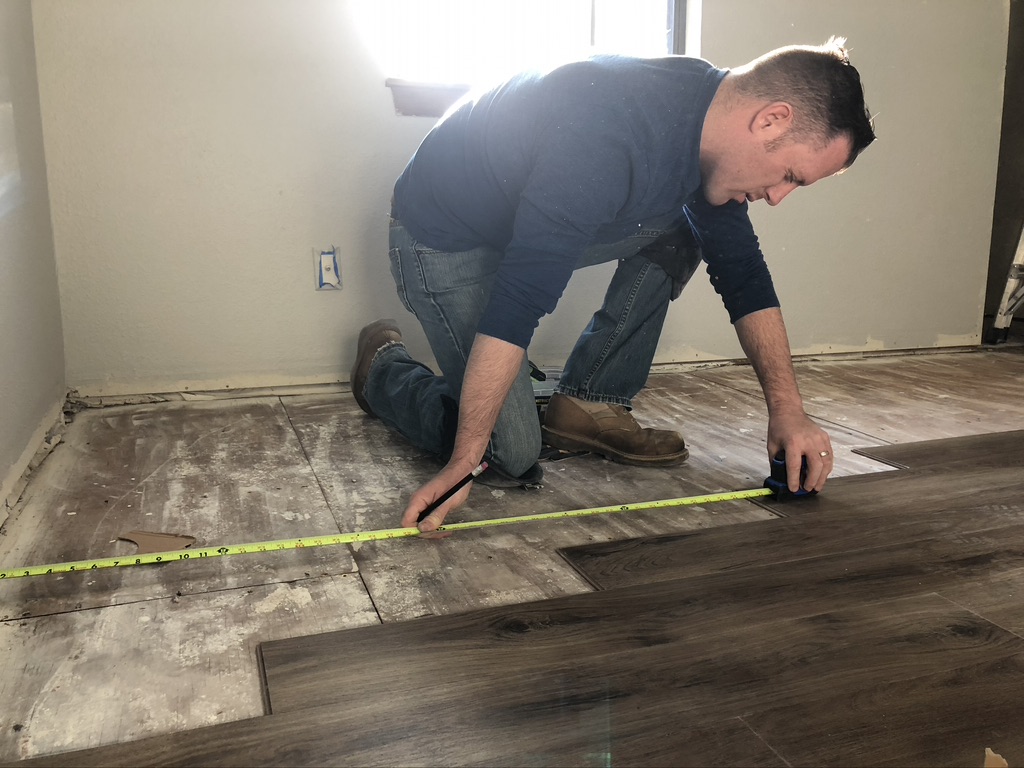
Up next: flooring! We chose a luxury vinyl plank for this unit. I had never worked with LVP before, but it was very easy to install and should hold up for a long time.
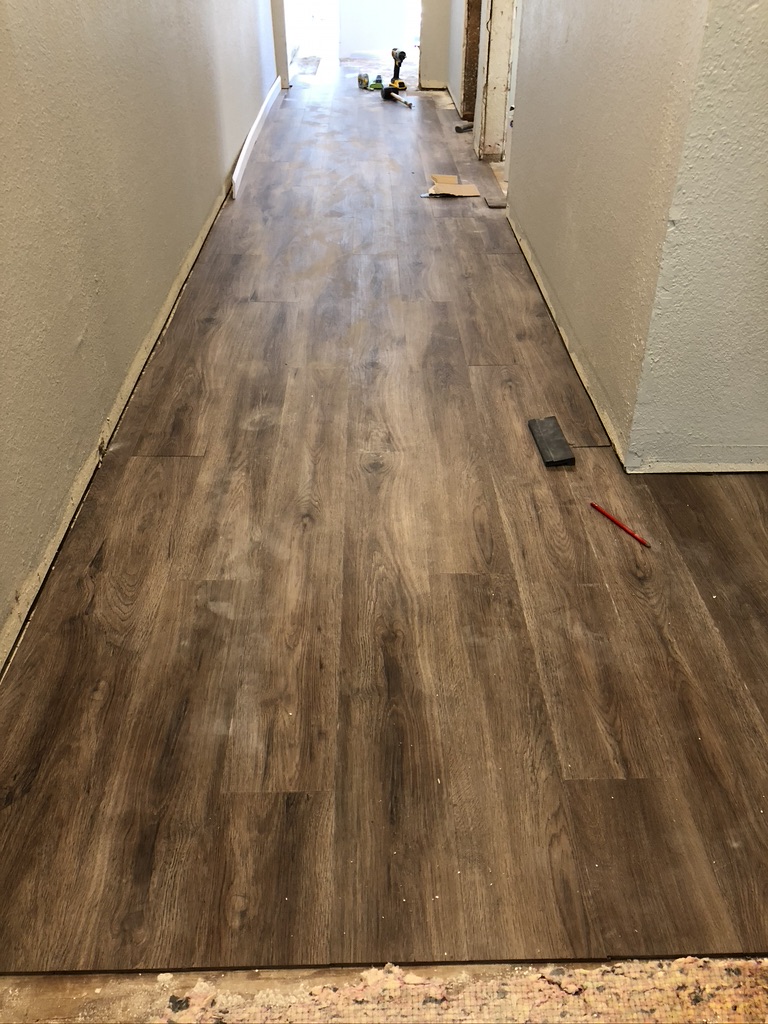


Mitch’s dad had installed LVP in his home a few years ago, but other than that he hadn’t had any experience with it either. After I figured out the general idea of it, he came over and I got to “teach” him how to install it too.

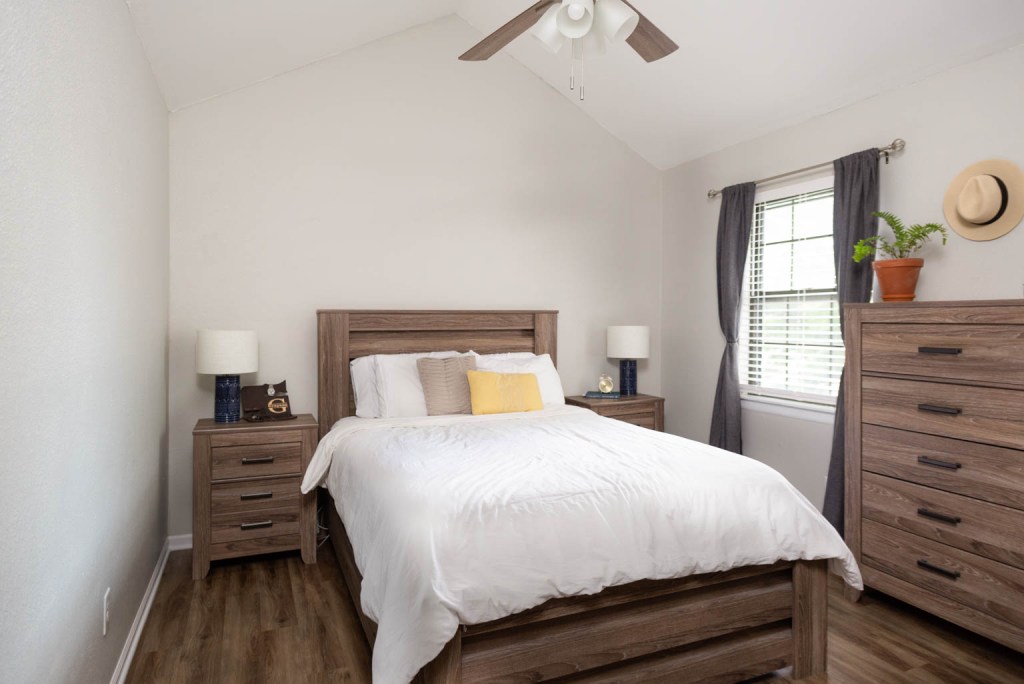
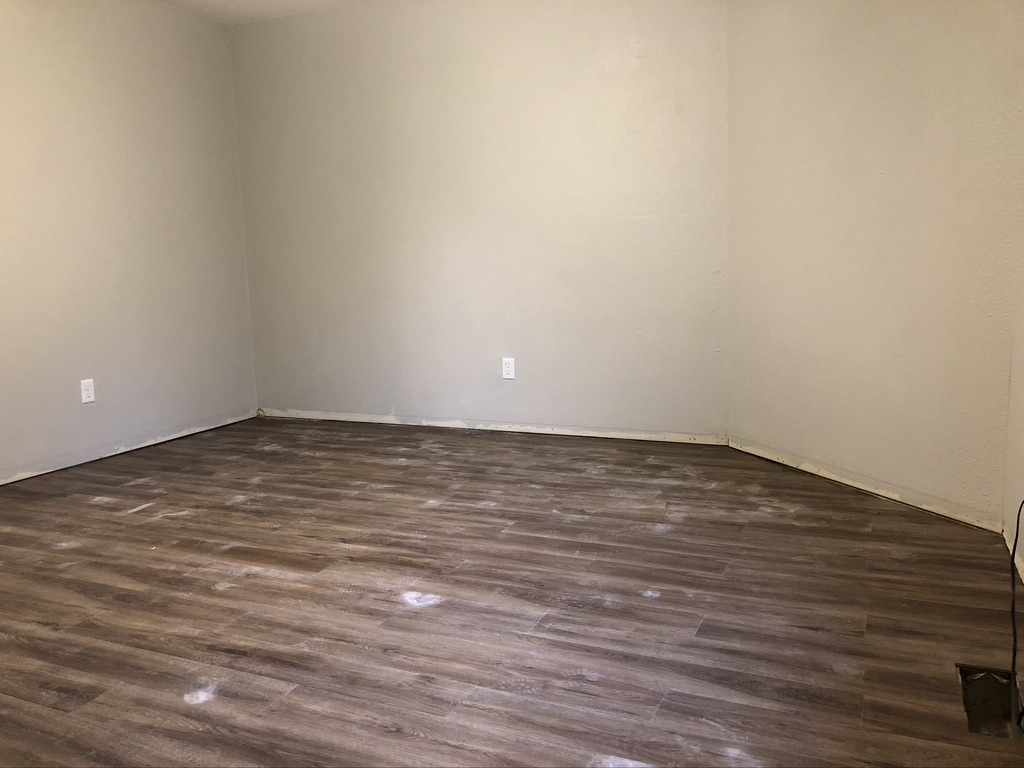
Trim came next. Later I ended up adding some quarter round to the main bedroom because it polishes and elevates the space (while being a super cheap project) and helped cover some of the gaps left by the flooring where it didn’t quite meet the wall (amateur mistake, I know).

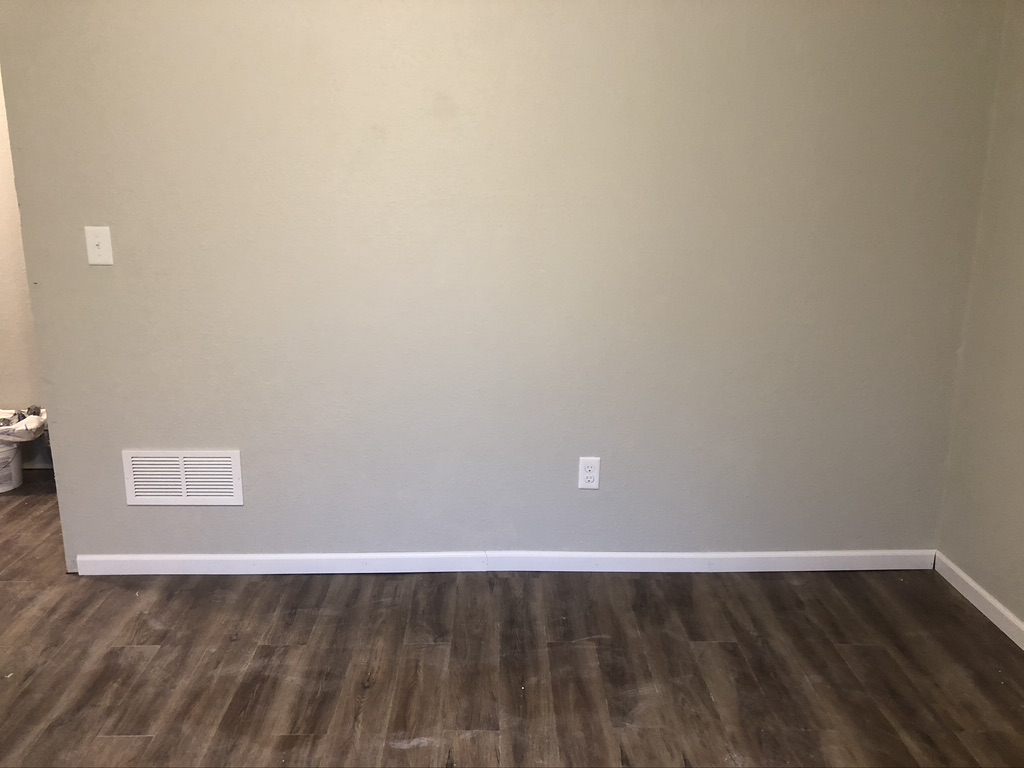
Trim right after installation but before finishing touches in a spare bedroom.

Finally, it was move in day! We lived without doors or finishing touches for a while until we could afford them, but it has all come together in the last few months.